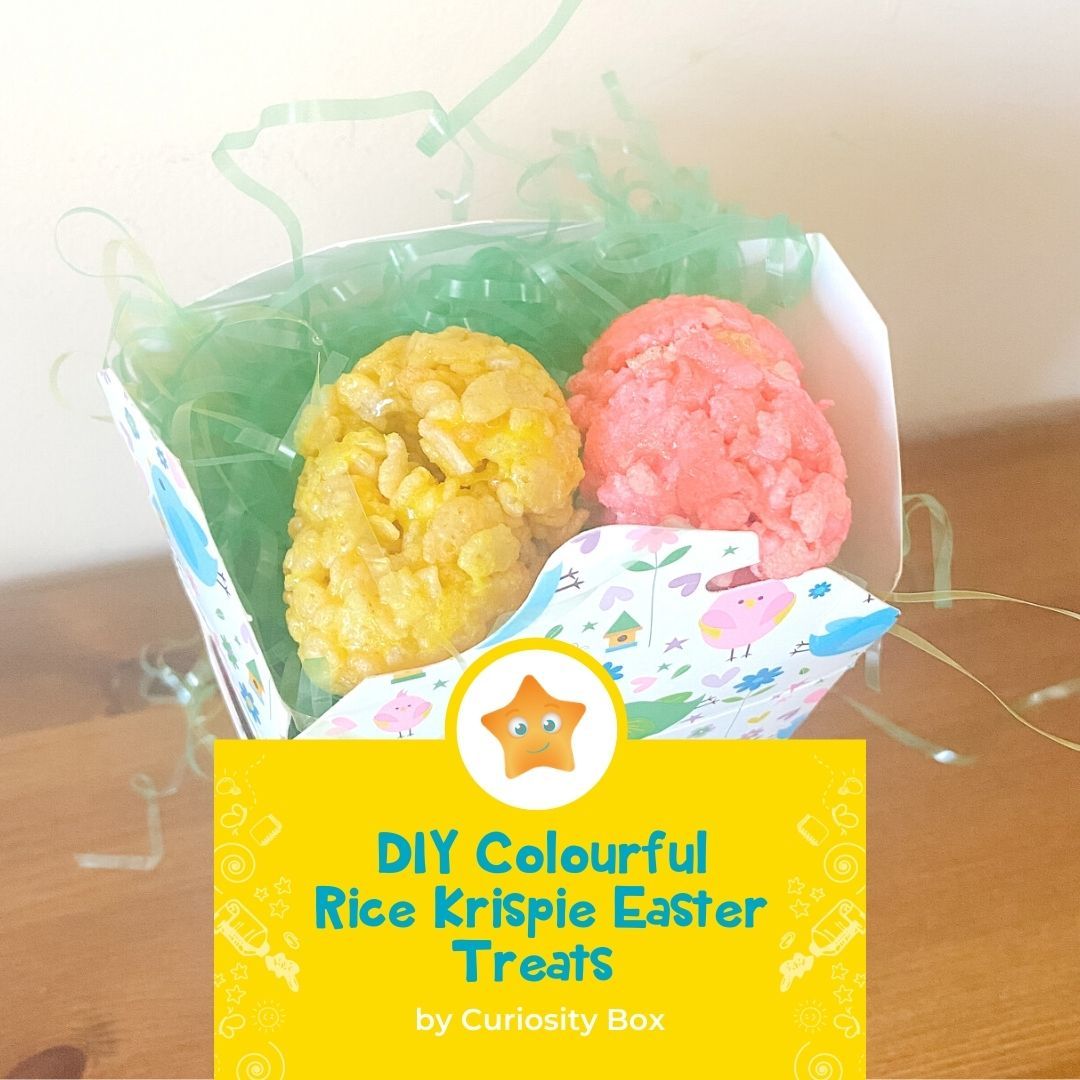
We’re finally starting to see some warm weather. You know what that means? It must be close to spring! Spring time also means that Easter is right around the corner. Why not make Rice Krispies in the shape of an easter egg?! Even better, add some colours to your eggs to incorporate that happy spring feeling.
This recipe makes enough for 2 eggs. If you want more than that, double or triple the recipe. Grab the kids and let’s get started!
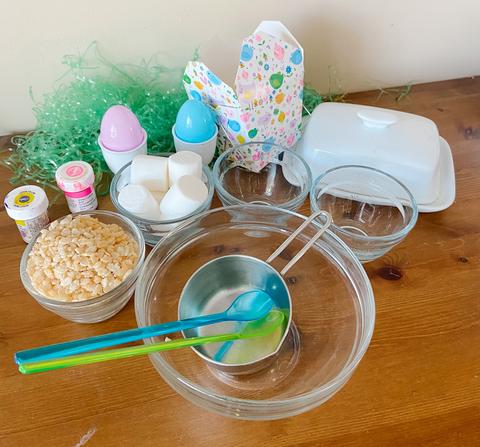
Food colouring (optional)
– Rice Krispies
– Marshmallows
– Microwave or stop top
– Bowls
– Measuring cups
– Spoons or spatula
– Egg molds (Plastic easter eggs)
– Butter
– Something to hold the egg molds (old egg carton would work)
– Treat box to hold the eggs (Optional)
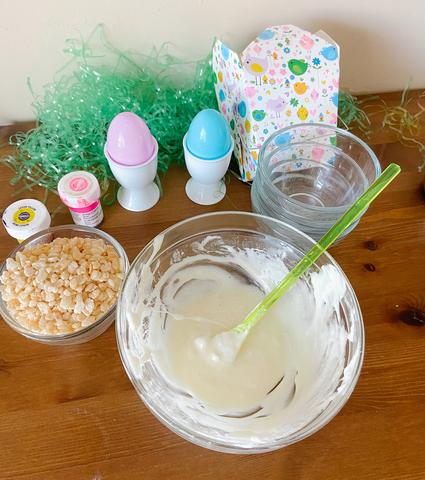
First, start off by combining 1 cup of marshmallows and 2 tablespoons of butter into a bowl. Put this in the microwave for 1 minute. Take out and stir, then put back into the microwave for 30 seconds.
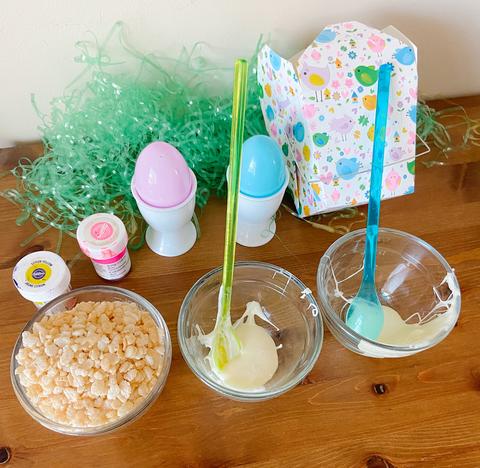
Next take your marshmallow and butter mixture and separate into 2 bowls. (If you don’t want to add food dye to your eggs then skip this step and go to step 4.
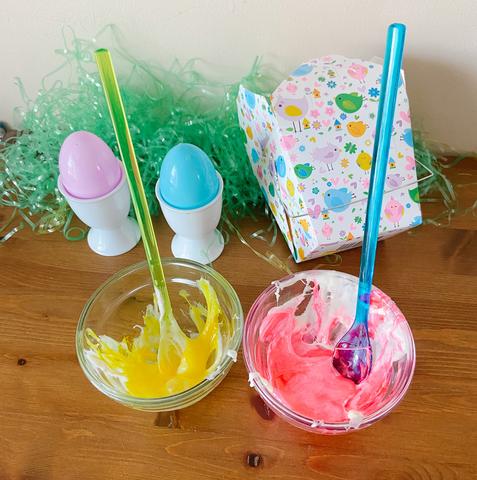
Take food dye and stir it in the 2 bowls of marshmallow and butter mixture. We did yellow and pink for our eggs!
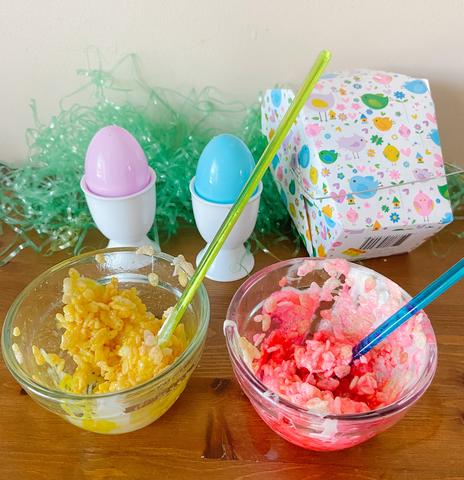
If you didn’t put food dye into your marshmallow and butter mixture, then add one cup of Rice Krispies into your bowl. If you have 2 bowls with food dye then add half a cup of Rice Krispies to each bowl. Stir until all the Rice Krispies are stuck to the marshmallows.
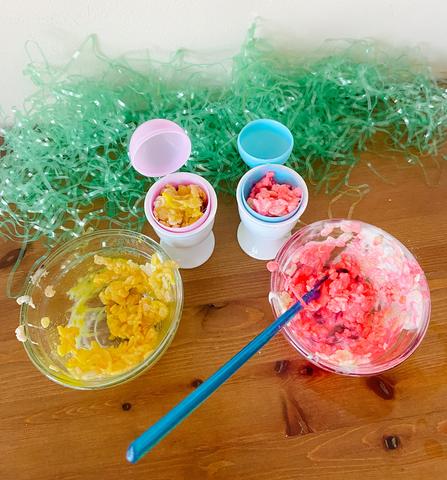
Take your Rice Krispie mixture and start putting it into your egg molds. If you don’t have an egg mold, you can try to mold an easter egg shape with your hands! After your easter egg molds are full then close the top.
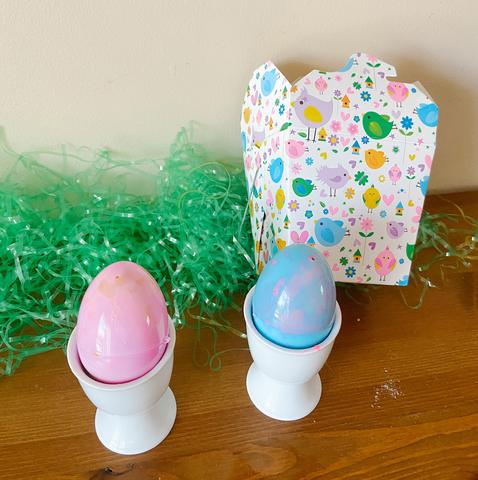
Take your easter egg treats and let them sit for a couple of hours or until they are hard. Feel free to leave it in the fridge to speed up the sitting time.
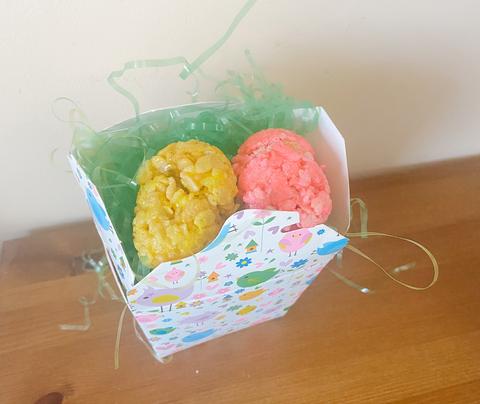
Once you feel your rice crispy egg treats are ready, take them out of your egg molds. Easy as that – now enjoy!
You can eat these yourself, or give them as gifts to someone. I love giving away treats and cute Easter boxes! Hope you enjoyed making this, Follow us for more DIY crafts, recipes and more.

