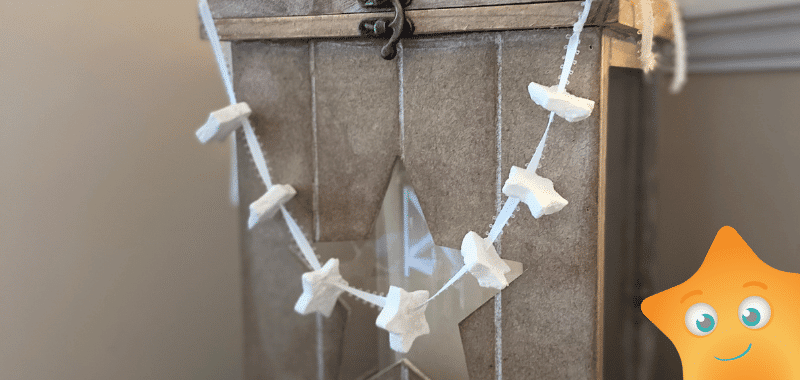
Schools out, now what! If you are like me you are thinking about how you are going to entertain the kids over the break. Why not give this craft a try, you probably have all the supplies in your pantry right now. Turn up that holiday music, grab your family and come craft with me! Today we’re going to make clay stars to decorate your house during this holiday season. Grab the kids and let’s get started!!!
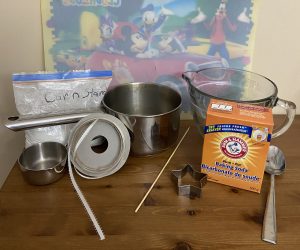
Materials
-Baking soda (1 cup)
-Corn starch (¼ cup)
-Water (¾ cup)
-Measuring cups
-Spoon
-Bowl
-Pot
-Stove top
-Star cookie cutter
-String
-Wooden skewers
-Measuring cups
-Place mat or wax paper
Step 1:
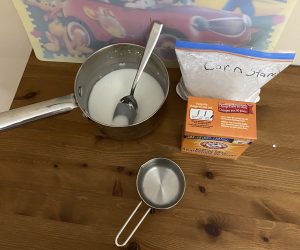
Start off by adding your corn starch, baking soda, and water into your pot and mix it together. You can do a smaller batch or a larger batch by doubling everything or dividing everything in half. Stir until it looks like a liquid, no chunks or powder
Step 2:
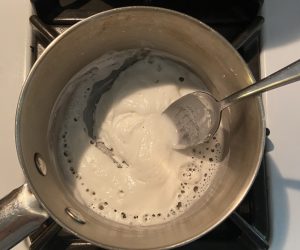
Next place your pot of liquid mixture on the stove top at medium-high. When it starts to boil, stir it until it becomes more solid and sticks together. You should be stirring for about 3-5 minutes. After this it should look like a clay mixture.
Step 3:
Then place the clay into a bowl and let it cool for about 3-5 minutes.
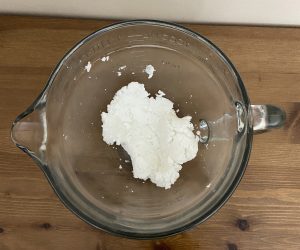
Step 4:
Place your clay onto wax paper or a place mat and spread it out with a spoon or your hand.
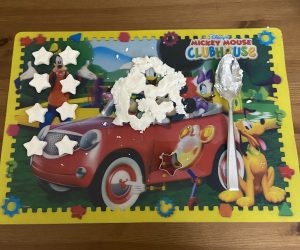
Step 5:
Use your star cookie cutter and make stars out of your clay. You can use any size of star cookie cutter, big or small works!
Step 6:
Once you have all of your stars cut out, use your wooden skewer and poke holes into the top of the star. Do this so that both sides of the hole are open, and that your string can fit through in order to hang the stars. Let your stars dry for about 24 hours. Check on them after 24 hours and if they aren’t dry then let them dry for longer.
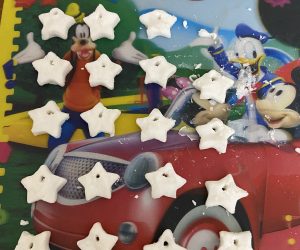
Step 7:
Lastly, when your clay stars are dry put your string through the holes and add your desired number of stars to the string.
I hope you enjoyed making these fun clay stars. You can use them to decorate your Christmas tree or hang them up around the house. You can let your imagination run free and find somewhere unique to place them. Happy crafting!

